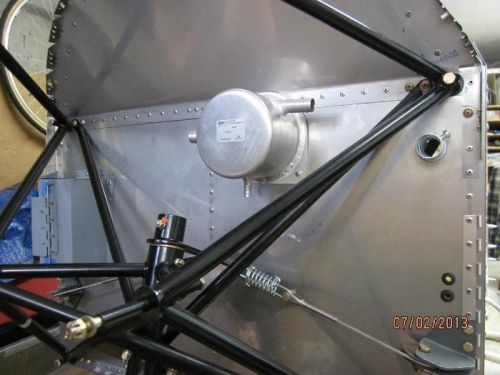
Applied a top coat of Krylon Smoke Gray enamel to the instrument panel.
Cleaned the Formica covered workbench in preparation for the AeroVee engine assembly.
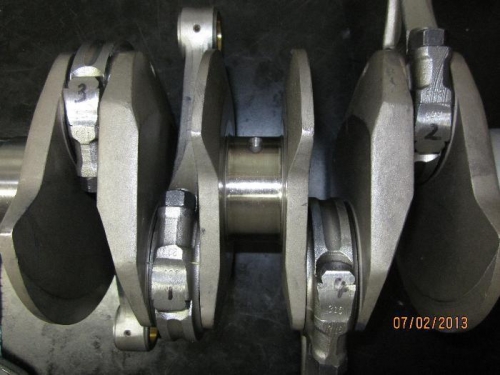
I have the pre-assembled crankshaft option, but went through the assembly steps. Page 9, step 5 increases an oil hole size to #30. Mine was not done so I enlarged it with a greased bit to catch the chips.. Since it was already assembled, I could not drill all the way without touching the crankshaft. It appears in the assmbly manual picture that the example was also drilled after assembly without drilling all the way through. Perhaps the larger hole is primarily for a better match to the case oil supply hole.
Completed the cam assembly, page 10.
Completed the connecting rod assembly, page 11. I checked the rod to crank clearance with green plasti-gauge (.001-.003" range) and all were within the required .002-.0025" range. ARP Ultra-Torque was used when torqueing the rod bolts to 30 lb-ft.
All rod side clearances were within spec ranging from .017-.020".